Fall TinkerKit Instructions
Turkey Place-cards
Supplies Needed:
- Brown Cardstock (2)
- Red Cardstock
- Yellow (or Orange) Cardstock
- Patterned Paper
- Googly Eyes
- Glue
- Templates
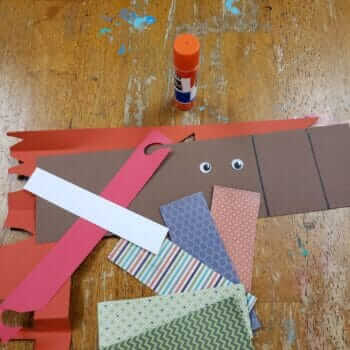
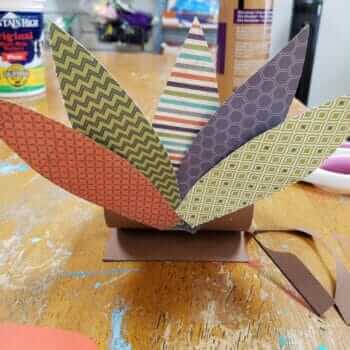
Step 1: Fold each patterned sheet of paper in half and glue. (This forms double-sided patterned paper.)
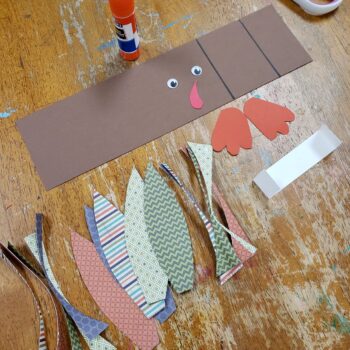
Step 2: Trace Feather Pattern. You need 5 per turkey. You can fit 2 feathers on each folded and glued piece of patterned paper.
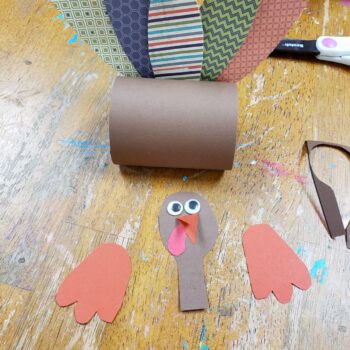
Step 3: Fold the Yellow (or Orange) piece of cardstock in half. Trace the foot template (or draw your own foot) and cut out (2-together). On the folded edge of the paper, cut a beak.
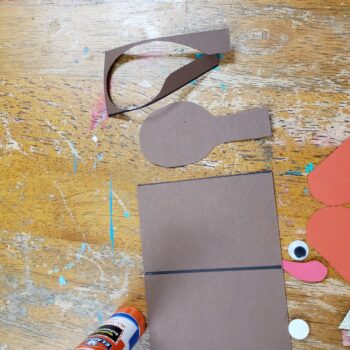
Step 4: Trace Turkey's head on the small brown piece of cardstock andthe gobble on the red piece of cardstock.
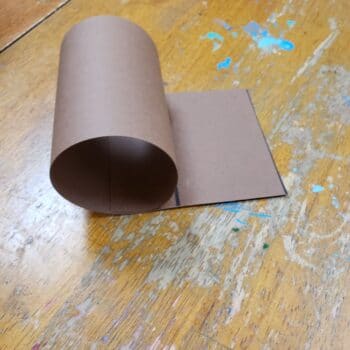
Step 5: Roll the larger piece of brown cardstock to form a tube. (Fold from the 3-inch side of the cardstock.) When you glue the tube, you will leave an inch or so of the brown cardstock extended for balance (see pictures).
Step 6: Glue the eyes, gobble, and beak on the turkey head.
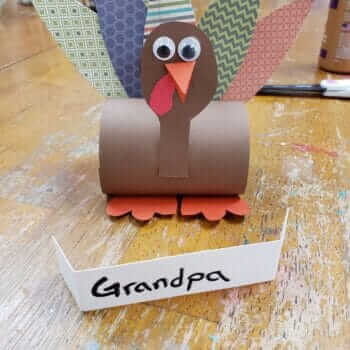
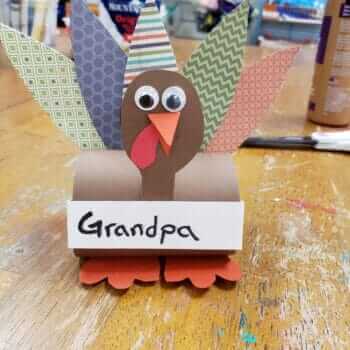
Step 7: Glue the feathers, feet, and head on the tube to form the turkey.
Step 8: Write a person's name on a strip of white cardstock (center the name). Then hold it up to the front of the turkey and tuck the ends inside the tube.
Sweater Pumpkin
Supplies Needed:
- Felted Sweater Sleeve
- Stuffing
- Rubber Band
- Tapestry Needle and Crochet Thread
- Cardboard
- Brown Construction Paper
- Paper Mache Glue
- Tray for Paper Mache Glue
- Hot Glue (optional)
Step 1: Turn Sleeve inside-out. Seal off one end with a rubber band. (Suggestion: if one end of your sleeve is wider than the other, place the rubber band on the wider end.) Turn right side out with rubber band end on the inside.
Step 2: Stuff your sleeve to get a general pumpkin / ball shape. If your pumpkin is too tall, move the rubber band to have more fabric on the inside of "pumpkin."
Step 3: Using the crochet thread and needle, make a "running stitch" around the opening at the top of your pumpkin. Tighten and tie off.
Step 4: Poke your threaded needle through the pumpkin from top to bottom several times. Each time pull tightly to create lumps and bumps in your pumpkin. Keep moving around the pumpkin until you are satisfied. Tie off. Note: The rubber band will make it difficult to pull your needle out through the exact bottom of the pumpkin. You can go to the side of the rubber band, try to stay as center as you can.
Step 5: Now you have a pumpkin, but you need a stem. Tear the brown construction paper into strips. Shake the paper mache glue well and pour some out in the tray (yogurt container lid).
Step 6: Stack the cardboard pieces to form a stem that is thicker at the bottom. If you have hot glue, you can stick the cardboard together before applying the paper mache, but it is not necessary. Drag your construction paper strip through the paper mache glue, wipe off excess glue, and wrap it around the cardboard. Keep dipping, wiping, and wrapping until your stem is covered.
Step 7: Attach the stem to the top of the pumpkin. Paper Mache glue will hold it, or you can use hot glue (or tacky glue) if you have those on hand.
Note: Video to the right was created in a live Invitation to Tinker. I am editing a better video and will upload it shortly.
Polymer Clay Leaves
Supplies Needed:
- Polymer Clay
- Parchment Paper
- Rolling Pin (dowel)
- Craft Sticks
- Cookie Cutter
- Toothpick
- Oven
- Twine
WARNING: Keep the clay on the parchment paper as it will pick up anything that may be on your work surface.
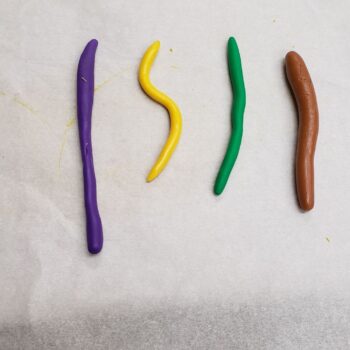
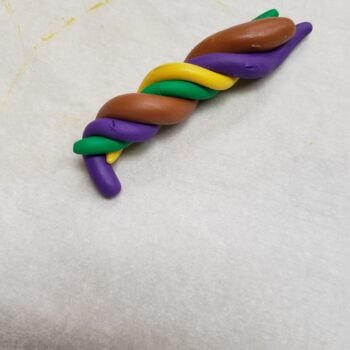
1: Work with ONE COLOR at a time. Soften the clay by rolling it into a snake between your hand, balling it up, re-rolling into a snake. Leave it as a snake. Work on the next color.
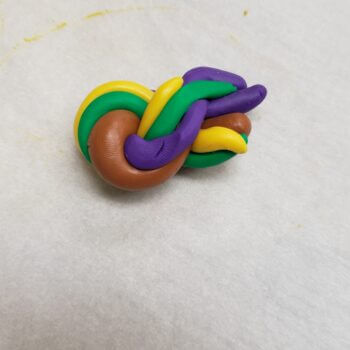
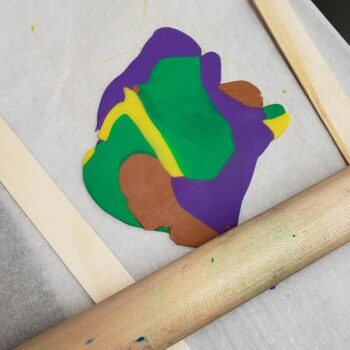
Step 2: Pick 2 - 4 colors (in snake form) and loosely twist them around each other. Fold in half and use the dowel to roll it flat. Place the craft sticks on either side of the clay and use them as a guide for how thin to roll out your clay. If you need to reshape your clay so that your cookie cutter fits, tear off a piece and overlap in the direction you want before re-rolling. (Note: if you roll and re-roll too many times, your colors will mix together to be a single color.
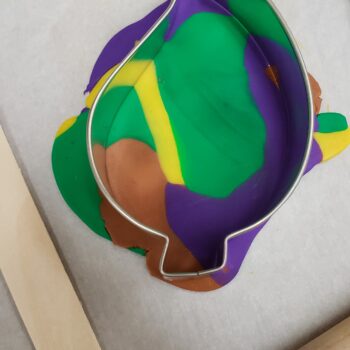
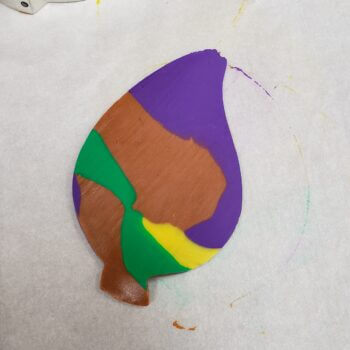
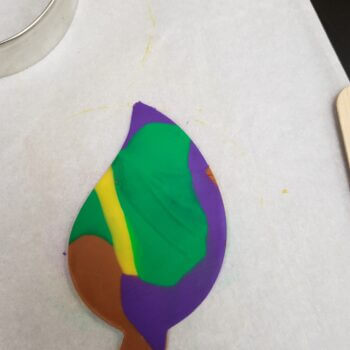
Step 3: Make your cut with the cookie cutter. Remove the excess clay. Look at both sides of your clay leaf and decide which side you want to use.
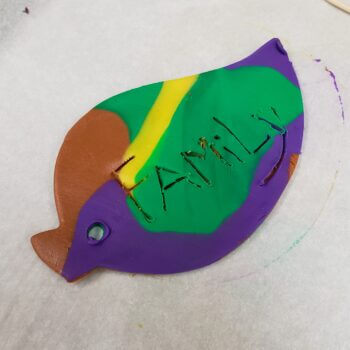
Step 4: Use a toothpick and make a hole near the stem. Wiggle the toothpick a bit to make the hole big enough to thread twine through AFTER the clay has baked. Also use the toothpick to write something on your leaf. Eg. Thanks, Family, etc.
Step 5: Place the clay (on the parchment paper) on a cookie sheet and bake in a 200 degree oven for 20 minutes. Let it cool. Thread your twine through the hole.
Woodland Creature Pennant Garland
Supplies Needed:
- 8 triangles
- 7 acorn tops
- 7 acorn bottoms
- Extra paper
- Glue
- Crochet Thread for stringing
- Scotch Tape (optional)
- Needle or hole punch (Use needle from Sweater Pumpkin Supplies)
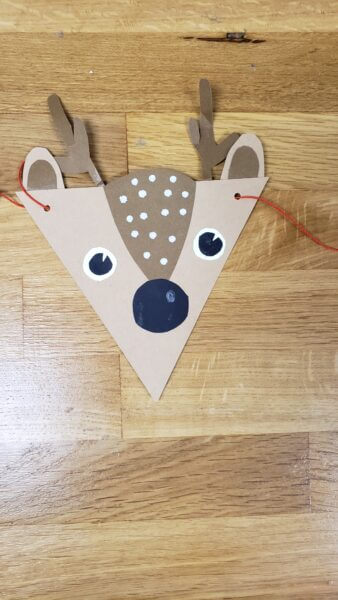
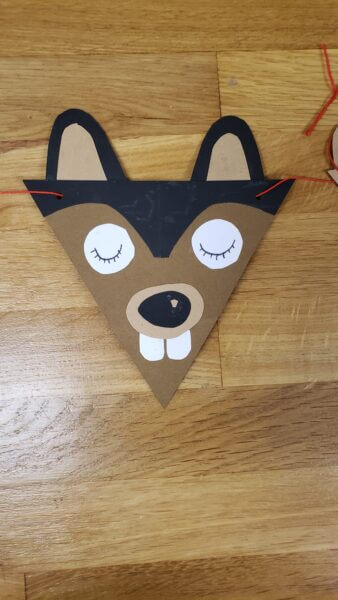
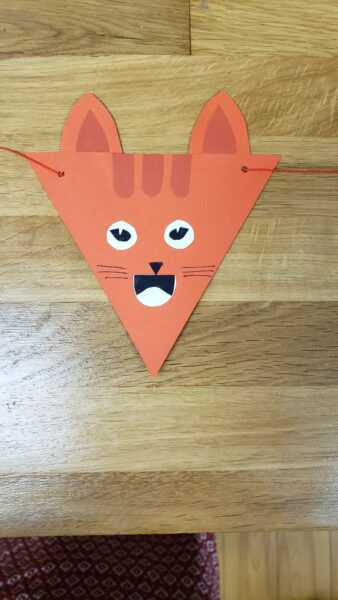
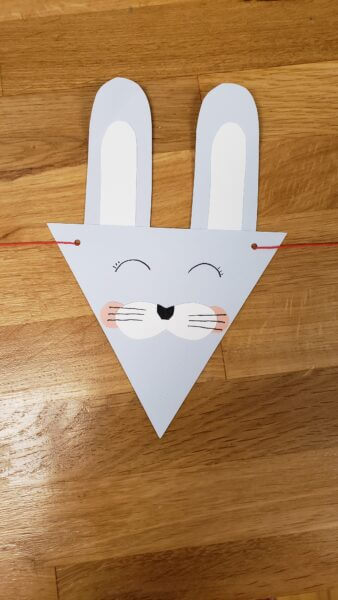
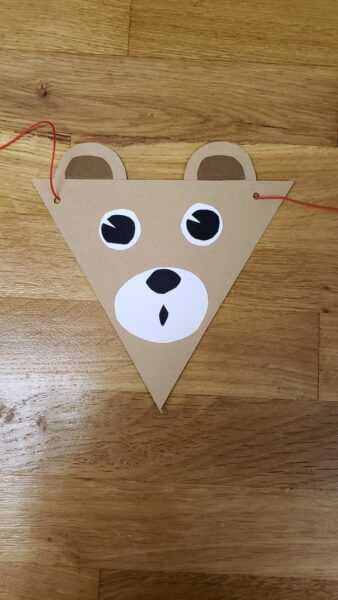
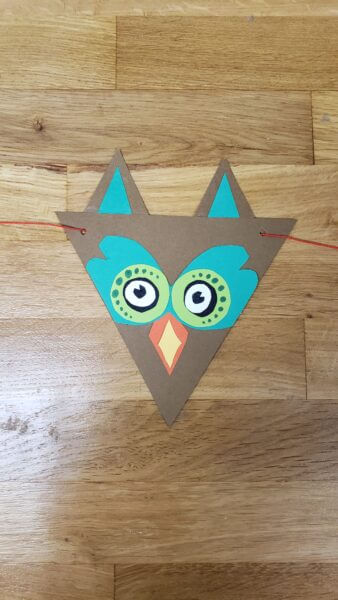
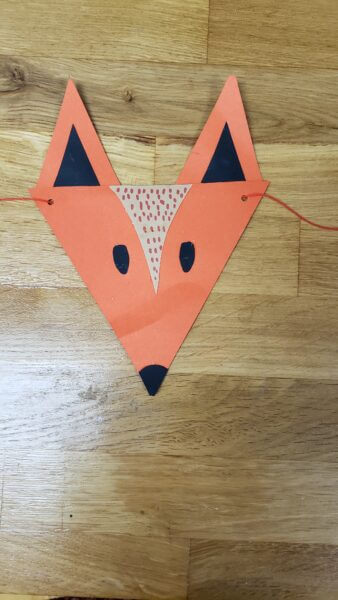
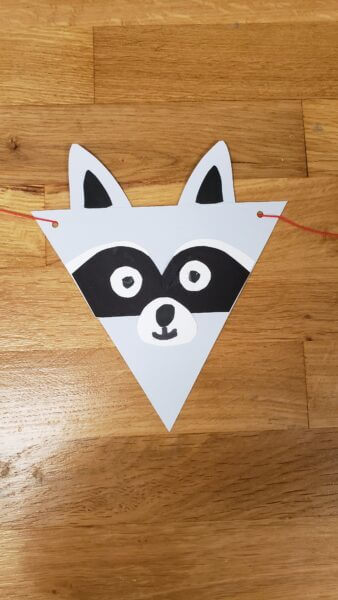
Step 1: Use the pictures as inspiration to make woodland creature faces on the triangles.
Step 2: Glue together the acorns.
Step 3: Poke holes in the top corners (two holes near the top of the acorn pieces) and string them in the order you would like. Note: your string should come in and out of the holes at the front so that the string runs along the back side of the triangle.
Step 4: (Optional) tape the string to the back of each triangle and acorn to keep the pieces from sliding around.

