Polymer Clay Leaves
Supplies Needed:
- Polymer Clay
- Parchment Paper
- Rolling Pin (dowel)
- Craft Sticks
- Cookie Cutter
- Toothpick
- Oven
- Twine
WARNING: Keep the clay on the parchment paper as it will pick up anything that may be on your work surface.
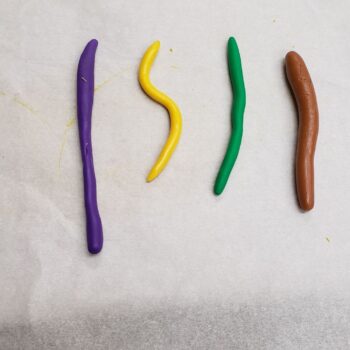
1: Work with ONE COLOR at a time. Soften the clay by rolling it into a snake between your hand, balling it up, re-rolling into a snake. Leave it as a snake. Work on the next color.
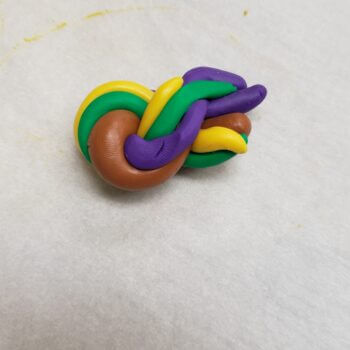
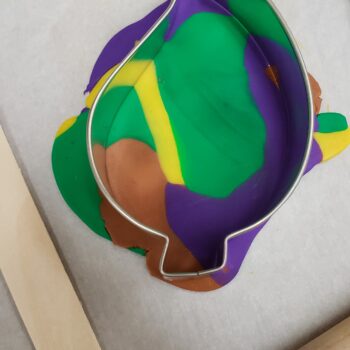
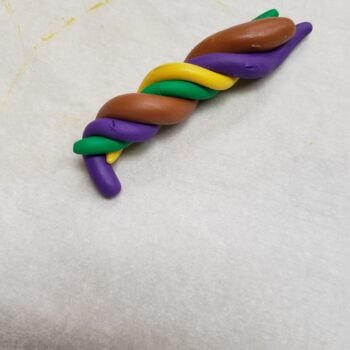
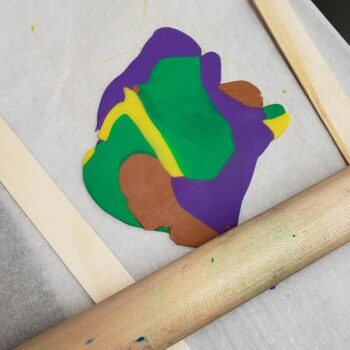
Step 2: Pick 2 - 4 colors (in snake form) and loosely twist them around each other. Fold in half and use the dowel to roll it flat. Place the craft sticks on either side of the clay and use them as a guide for how thin to roll out your clay. If you need to reshape your clay so that your cookie cutter fits, tear off a piece and overlap in the direction you want before re-rolling. (Note: if you roll and re-roll too many times, your colors will mix together to be a single color.
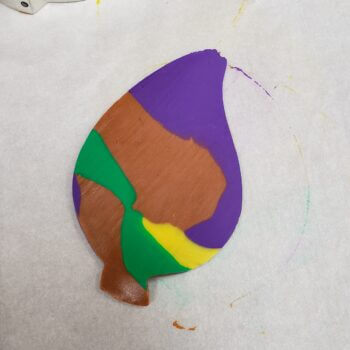
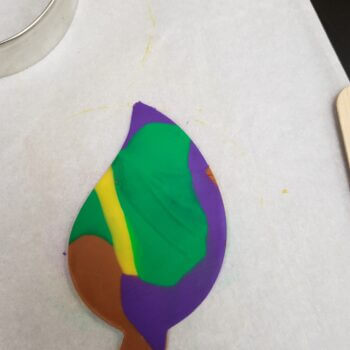
Step 3: Make your cut with the cookie cutter. Remove the excess clay. Look at both sides of your clay leaf and decide which side you want to use.
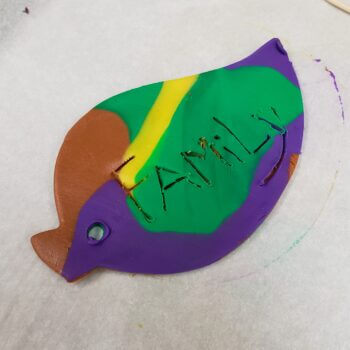
Step 4: Use a toothpick and make a hole near the stem. Wiggle the toothpick a bit to make the hole big enough to thread twine through AFTER the clay has baked. Also use the toothpick to write something on your leaf. Eg. Thanks, Family, etc.
Step 5: Place the clay (on the parchment paper) on a cookie sheet and bake in a 200 degree oven for 20 minutes. Let it cool. Thread your twine through the hole.

