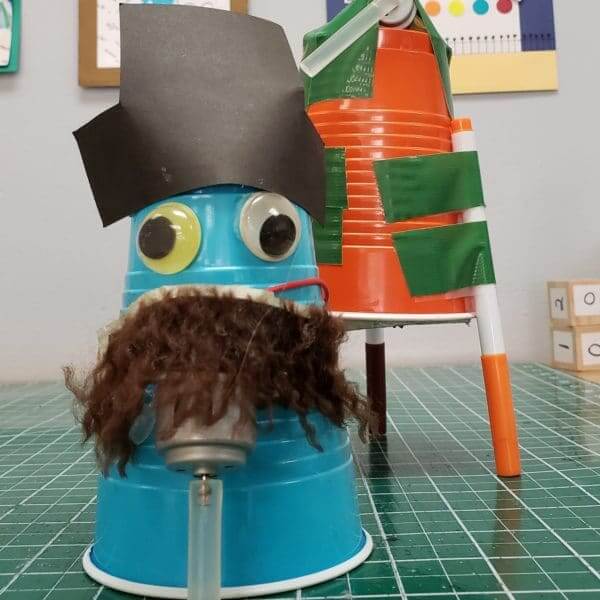
Wobble Bot
Supplies Needed:
- motor
- battery
- copper brad
- electrical tape
- cup
- 3 markers (optional)
- piece of hot glue stick
Step 1: Make a circuit with a switch using the motor, battery, brad, and electrical tape (Caution: Your kit has both electrical tape and duct tape. Be sure you are using the electrical tape to make this circuit. Electrical tape is completely smooth while Duct tape has texture from the fibers.) Watch the video to see how to make this circuit.
Step 2: Stick your piece of glue stick onto the shaft of the motor. (For more wobble, attach it farther from the center. For less wobble, attach it closer to the center.)
Step 3: Attach the motor to the bottom of the cup (top of the cup as it is turned upside-down). Be sure the glue stick can rotate freely. Also do not cover the vents on the motor with tape.
Step 4: Attach the battery to the cup where you will be able to use the switch to turn it off and on.
Step 5: You should have a wobble bot now. Test it out!!
Step 6: If you wish to make a drawing bot: Attach three markers to the cup (drawing side down). There is a bit of a challenge here to get the cup to balance on its legs.
Step 7: Use whatever materials you have on hand to decorate your wobble-bot / drawing-bot.

